Quick Start
Get started with Wakflo in minutes. This guide will help you set up your first automation workflow in Wakflo. Follow these steps to automate your business operations in minutes.
Step 1: Create an Account
- Go to app.wakflo.com
- Sign up with your email or Google account
- Confirm your email address
- Complete your profile with basic information about your business
Step 2: Name Our Workflow
-
Log into app.wakflo.com
-
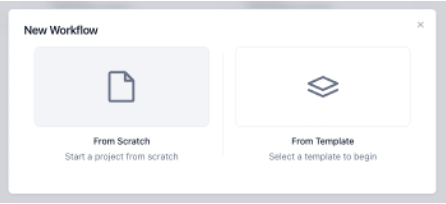
Click on Create Workflow

-
In the pop up click on From Scratch
-
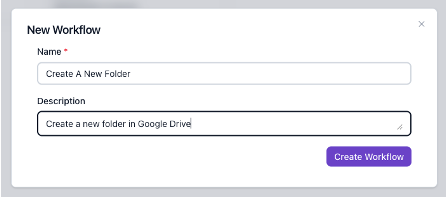
Give the workflow a Name and Description
Step 3: Select Your Trigger
A trigger tells the application when to execute a workflow.
-
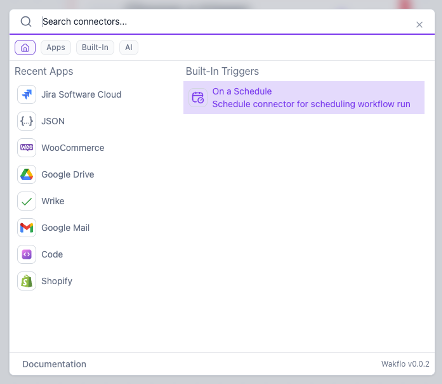
Select Scheduled Trigger
-
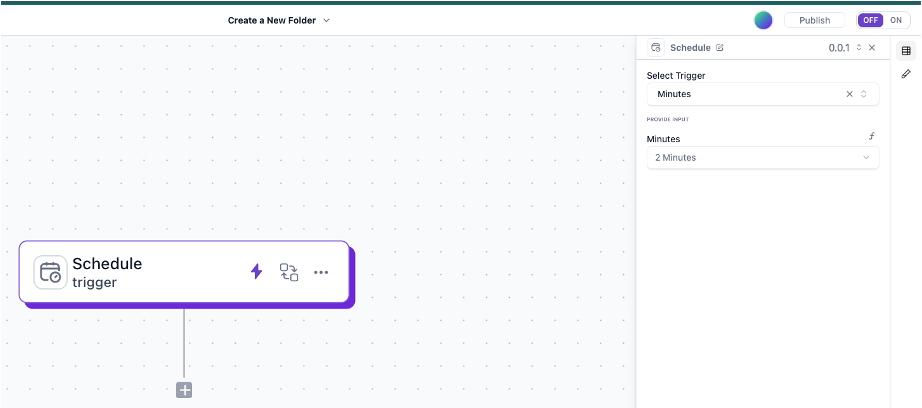
Select the scheduled trigger on the editor to expose the right side bar
-
Configure the trigger to interval of 2 Minutes as shown below
Step 4: Connect Your First Integration
Wakflo works by connecting to existing platforms and tools you already use in your business. Let’s set up your first integration:
-
Click the ”+” below the trigger to add a Google Drive integration
-
Select “Apps” and search “Drive”
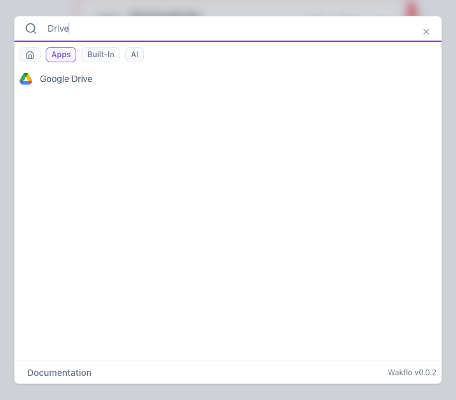
-
Select the “Google Drive” and click ”+” under “Select Connection” on the right side and follow the authentication steps
-
In the dialog box click “Connect”
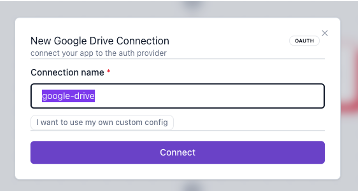
-
Grant the necessary permissions when prompted
Step 5: Build Your First Workflow
Now let’s build a simple workflow to get you familiar with the platform:
-
Configure the trigger settings if necessary
-
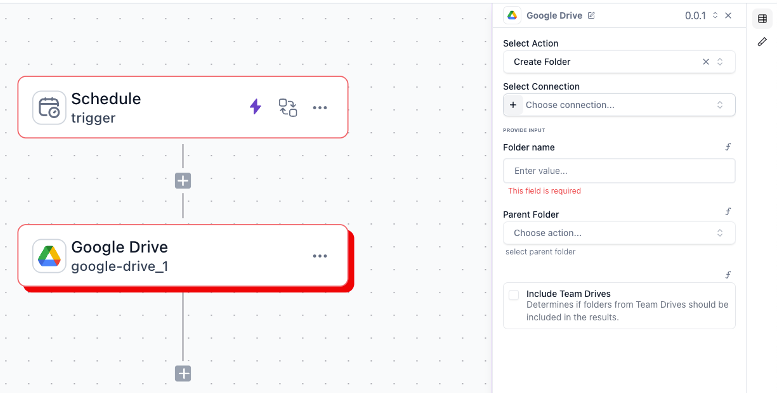
Select Google Drive integration and choose an action (e.g. “Create Folder”)
-
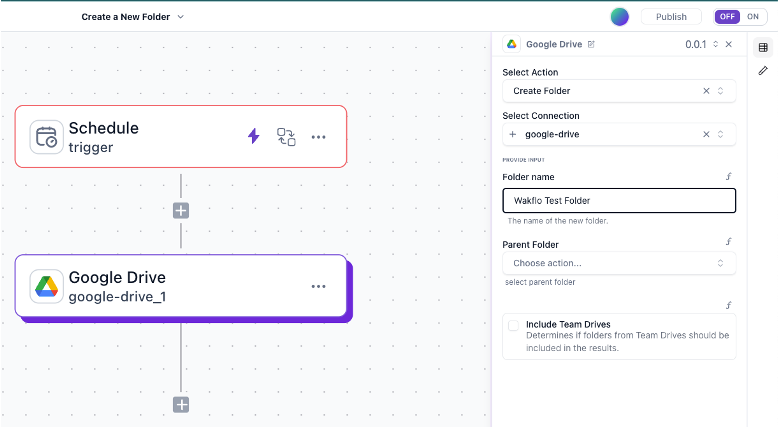
Configure the action with the required details (e.g. Folder name)
Step 6: Test Your Workflow
Before activating your workflow, it’s important to test it:
-
For each step in the workflow, click the test icon on the right sidebar
-
Click Test or Retest button
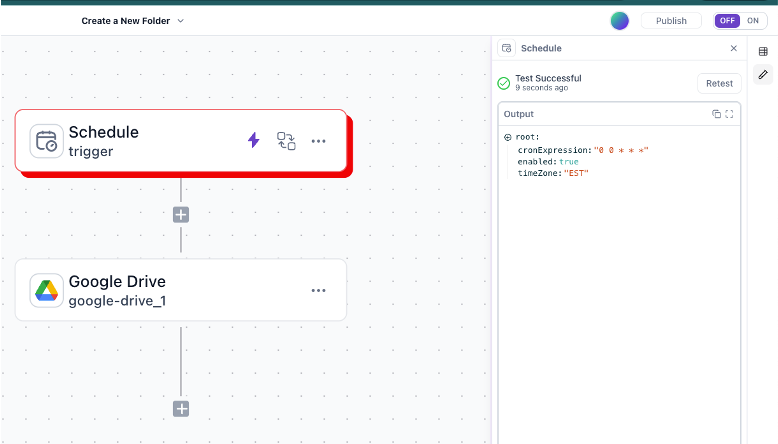
Make sure you test every step in the workflow. If a step fails review the configuration to fix the failure.
- Review the test results to ensure everything works as expected
- Make any necessary adjustments to your workflow
Step 7: Publish Your Workflow
Once you’re satisfied with your test results:
-
Click the Publish button at the top right corner and confirm publish when prompted
-
Toggle the OFF/ON switch at the top right corner of the workflow editor if it is not already ON

-
Your workflow is now live and will run automatically when the trigger event occurs. Turn it off after 2-4 minutes
After publishing, your workflow will process real data and perform actions in your connected platforms. Make sure everything is properly configured before clicking Publish.
You should see a folder(s) named Wakflo Test Folder in your Google Drive
Please don’t forget to use the toggle button to Turn OFF the workflow to avoid creating new folders in your Google Drive every 2 minutes.
Next Steps
Congratulations! You’ve created your first automated workflow with Wakflo. Here are some recommended next steps:
Browse our library of pre-built templates for common ecommerce scenarios.
Explore TemplatesLearn how to create more complex workflows with conditions, loops, and error handling.
Advanced WorkflowsExpand your automation capabilities by connecting additional platforms and tools.
Connect More IntegrationsConnect with other Wakflo users to share ideas and best practices.
Join the Community